
Detailed photo instructions on how best to assemble the boxwood wreath cut file!

You’ll need:
- Two sheets of 12×12″ textured cardstock
- Adhesive or glue
- Boxwood Wreath cutting file
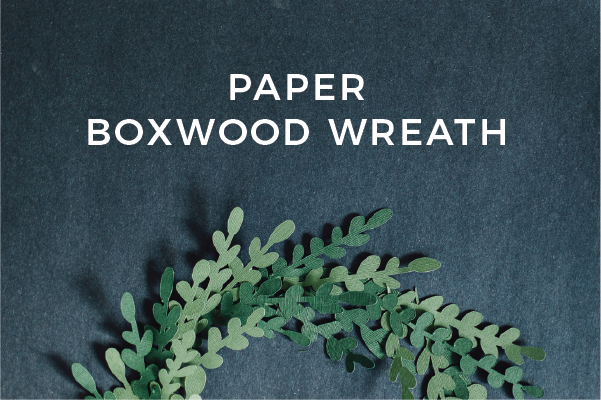
Cut out the circle base & the branches out of your choice of cardstock. My cardstock was about 65 lb, and I used two shades of green to give a little bit of contrast to the wreath.

Carefully peel the branches off of your mat. These will tear easily! Make sure you do a test cut before you cut these out, since they’re pretty delicate.

I used a tacky glue to adhere the branches to my circle base. Start in the upper left portion of your circle, and glue down the end of your first branch.

You’ll now work counter-clockwise, and adhere branches over other ones. Making sure that the previous ends are covered by the newest branches.

As you can see, I’m working counter-clockwise. Here’s a better visual representation of what I mean. You can always go back and fill in bare patches with other branches, just be sure to lift up the branches and stick the new branch underneath. This will make sure the ends don’t show, and it will have that continuous movement.

This makes such fun home decor, you can hang it on a wall, or on an inside door. I’d be worried about hanging this outside, since paper is pretty fragile & I wouldn’t want it to get ruined by weather. Maybe you could spray it with a sealant? If you try it out, let me know!
It’s pretty straight forward to put it together, but sometimes it helps to have a visual representation to make it easier to assemble. Let me know if you end up having any questions!